A text box is a great way a Google Docs User can organize their thoughts visually. It can also differentiate a set of text on a page and make your text stand out. A text box is a good feature to add to your document, especially when sharing the document with colleagues. In addition, it presents formal and professional work.
There are multiple ways of inserting a text box in a Google Doc. In the article below, we explain the different methods of doing so.
Using the Drawing Tool to Insert a Text Box in your Google Doc
The drawing tool is the easiest method of inserting a text box in your document and still get to manipulate it. Here are the steps to follow;
1. Open your Google Docs document.
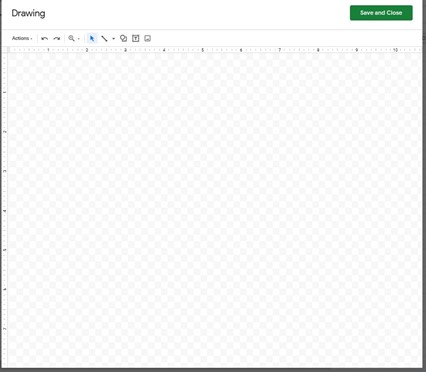
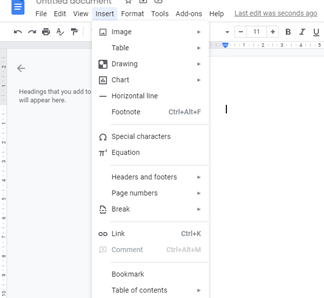
2. Click Insert, then select Drawing from the drop-down menu list.

3. Click New to create a text box.
4. Click on the Text box icon. It is a capital T enclosed in a squared box.
5. To create the text box, click and drag your cursor in the drawing area. Afterward, release your mouse for the text box to appear.

6. Add your desired text in the text box. To do this, double-click on the shape.
7. In the top-right corner, click on the blue button for Save and Close. The text box will appear in your document. From here, you can easily format your text box and customize it.
Using Shapes to Create and Insert a Text Box in Google Docs
Google Docs lets users add texts in different shapes such as rectangles, callouts, flowchart shapes, and squares. These shapes act as text boxes, and you can customize them to your liking.
1. Open your document and click on Insert > Drawing > New.
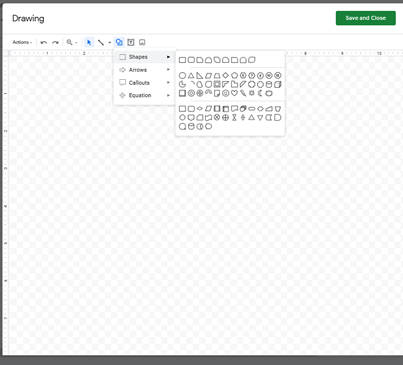
2. Click on the Shapes icon. It will display a drop-down list that contains shapes, arrows, callouts, and equations.
3. Click Shapes and select the shape (s) you want to use.
4. click, drag, and release your mouse in the drawing area. It will create the shape that you selected.
5. Double-click anywhere within your shape and type in your text.
6. Click Save and Close to insert your shape in your document.
Note;
You can customize, resize and edit the shape. To edit, select the shape and then click on the Edit option.
Inserting a Text Box using the Table Tool
You can use a single-cell table to add a text box into your Google Doc document. Here, you will need to add a table to your document by selecting only a single cell. Here is how to do it;
1. Open your Google Docs document.
2. Click on the Insert option, then select Table. On your Table, select the first cell of the Table.
3. After doing so, a single-cell table will display in your document. Type in your text.
4. From the top of the Google Docs window, use the edit options. Here you can change the fill and border of your text box.
Conclusion
Text boxes are a preferable and great way to bring other user’s attention to specific items within your document. You can add a text box in your Google Doc document without much hassle from the guide above. Select your preferred method, add your text box, customize it, and you’ll be set.