Google docs is a great platform, especially when it comes to printing labels. You can easily make and print labels using an add-on known as label make. The process is easy ad-free. Alternatively, you can use another add-on known as “Avery” to print labels I google docs. Google add-ons are made by different developers across the world to make the platform better. Just like an app store with many developers making different apps to suit different people.
The basic label maker is free, but you can upgrade to premium packages for more advanced features. For example, you can create unlimited labels using the premium plugin. Also, you c add unlimited recipients and unlimited merges if you upgrade compared to the free option. In addition, you can unlock lifetime access by just paying a one-time fee of $79.99.
Make labels using label maker in Google docs
1. Open a blank document
Open a blank document on google docs by clicking on the + sign. Leave it blank since we will use it to create labels later.
2. Install an add-on known as create and design labels. You can move to the next step if you have already installed the plugin.
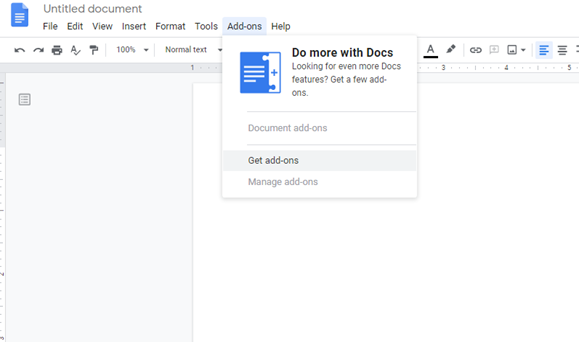
3. After installing the add-on, reload the document
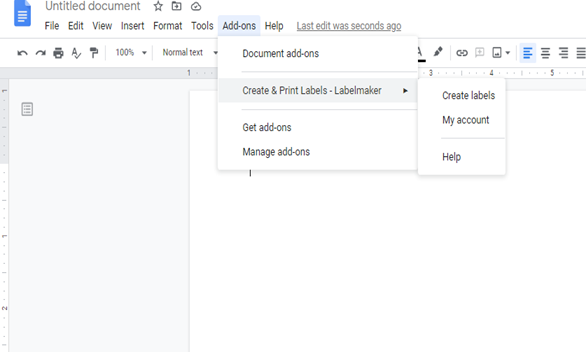
4. Open-label maker
Click the add-ons button on the top menu and then open create and design labels
5. Choose a template
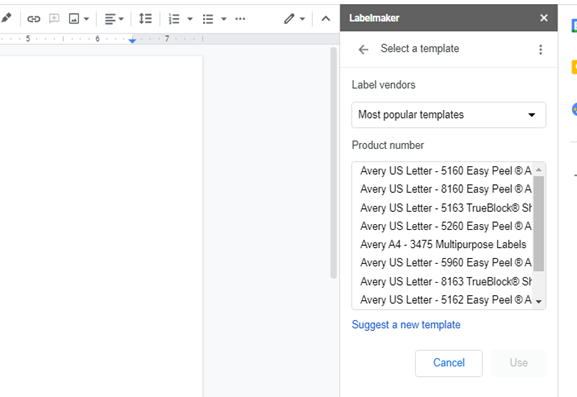
On the “create and design labels” add-on sidebar, choose a template by clicking o select a template. Browse the available templates and choose one that you like better. There are over 3000 templates available inside categories such as Aver A4, Avery US letter, Herma, onlinelabels.com, and Zweckform
6. Edit document
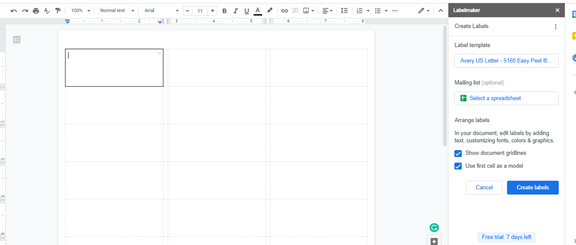
You can add formatting and text within the document’s first cell. The cell will replicate itself over other labels. Use double arrows to add merge fields if you have already linked a mailing list. For example add the city <<city>> and address with <<address>>.
7. Replicate the first cell
This the most important step. You can either replicate the first cell or use the first cell as a model. Uncheck the boost if you do o twat to replicate the first cell.
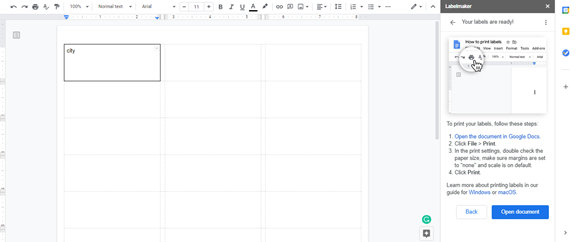
8. Open the new document
To look at your labels sheet, click on open document
9. Preview before printing
You need to confirm whether the labels are as expected before moving to the next step. If they are not as you expect them, go back and make changes by clicking to create labels.
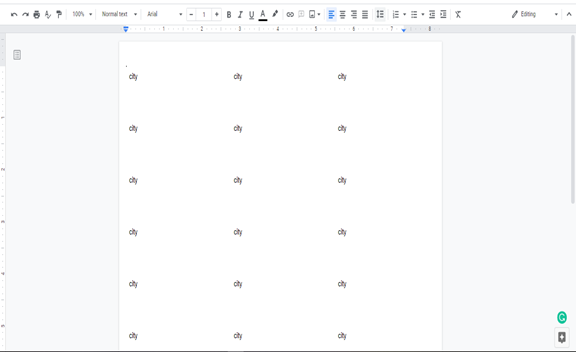
10. Print labels
The document is ready, and the labels are okay. Now click on file >print. Set the margin to 0 I the print dialogue ad scale to 100%. You might need to adapt the page size depending o the label’s product format. For instance, in Avery, US letter 5160 requires letter size.
Conclusion
Making labels in Google docs is very easy when you use the create and design labels add-on. The same add-on can also be used to make labels I Google sheets. It has a free basic plan, but you can upgrade for more premium features of lifetime access