
When designing or writing a document, there are several situations when the user may be required to insert a vertical line. For instance, when your text or words appear in a column, a vertical line is used to separate them. Google Docs provides the user with tools that enable him/her to insert a vertical line easily.
Let us discuss some of the methods used in inserting a vertical line in a Google Docs document.
These methods are
1. Using shapes
2. Paragraph Border
3. Keyboard shortcuts
Let us discuss each of the above methods.
How to insert a vertical line using shapes
Google Docs is well equipped with various shapes that can be used to construct a vertical line in the document. Additionally, this method provides the user with a variety of options for customization.
Here are the steps to use this method:
1. Open Google Docs
Using any suitable browser, open the Google Docs software. A user email account will be needed to use this tool. Therefore, log in using a relevant email account. While you’re logged in, go to docs.google.com.
2. Open your document
Open the document to add a vertical line. Also, you can create a new document by clicking the “Blank Document” button.
3. Click the insert button
Once the software is opened, locate and click the Insert tab; found on the toolbar.
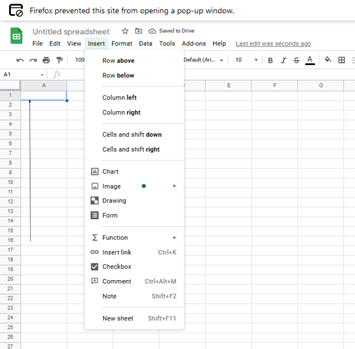
4. Click the drawing
On the Insert dropdown menu, locate and click on the drawing button.
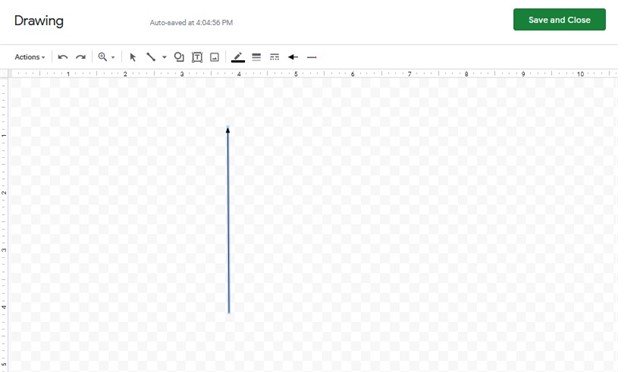
5. Draw the line
After clicking the drawing button, a new page opens. Using the arrow tab, draw a vertical line. Next, customize your line to change color, size, and appearance. Lastly, hit the “Save and close” button to insert it into your document. You can go ahead and reposition the line.
How to insert a vertical line using Paragraph Border
Follow these steps:
1. Open Google Docs
Using any suitable browser, open the Google Docs software. A user email account will be needed to use this tool. Therefore, log in using a relevant email account. While you’re logged in, go to docs.google.com.
2. Open your document
Open the document you want to add a vertical line. Also, you can create a new document by clicking the “Blank Document” button.
3.Click the Format button
Locate and find the format button, click on it to open the dropdown menu. On the dropdown menu, click on the “Paragraph styles and options”
4. Select borders and shading option
On this page, select either the left borders or the right borders depending on the type of line you want. Then, format the line until you’re satisfied.
How to insert a vertical line using Keyboard shortcuts
Follow these steps:
1. Open Google Docs
Using any suitable browser, open the Google Docs software. A user email account will be needed to use this tool. Therefore, log in using a relevant email account. While you’re logged in, go to docs.google.com
2. Open your document
Open the document to add a vertical line. Also, you can create a new document by clicking the “Blank Document” button.
3. Insert the vertical line
On your document, press the Shift key and the key below the backspace to draw a vertical symbol (|). Do this as many times as possible.